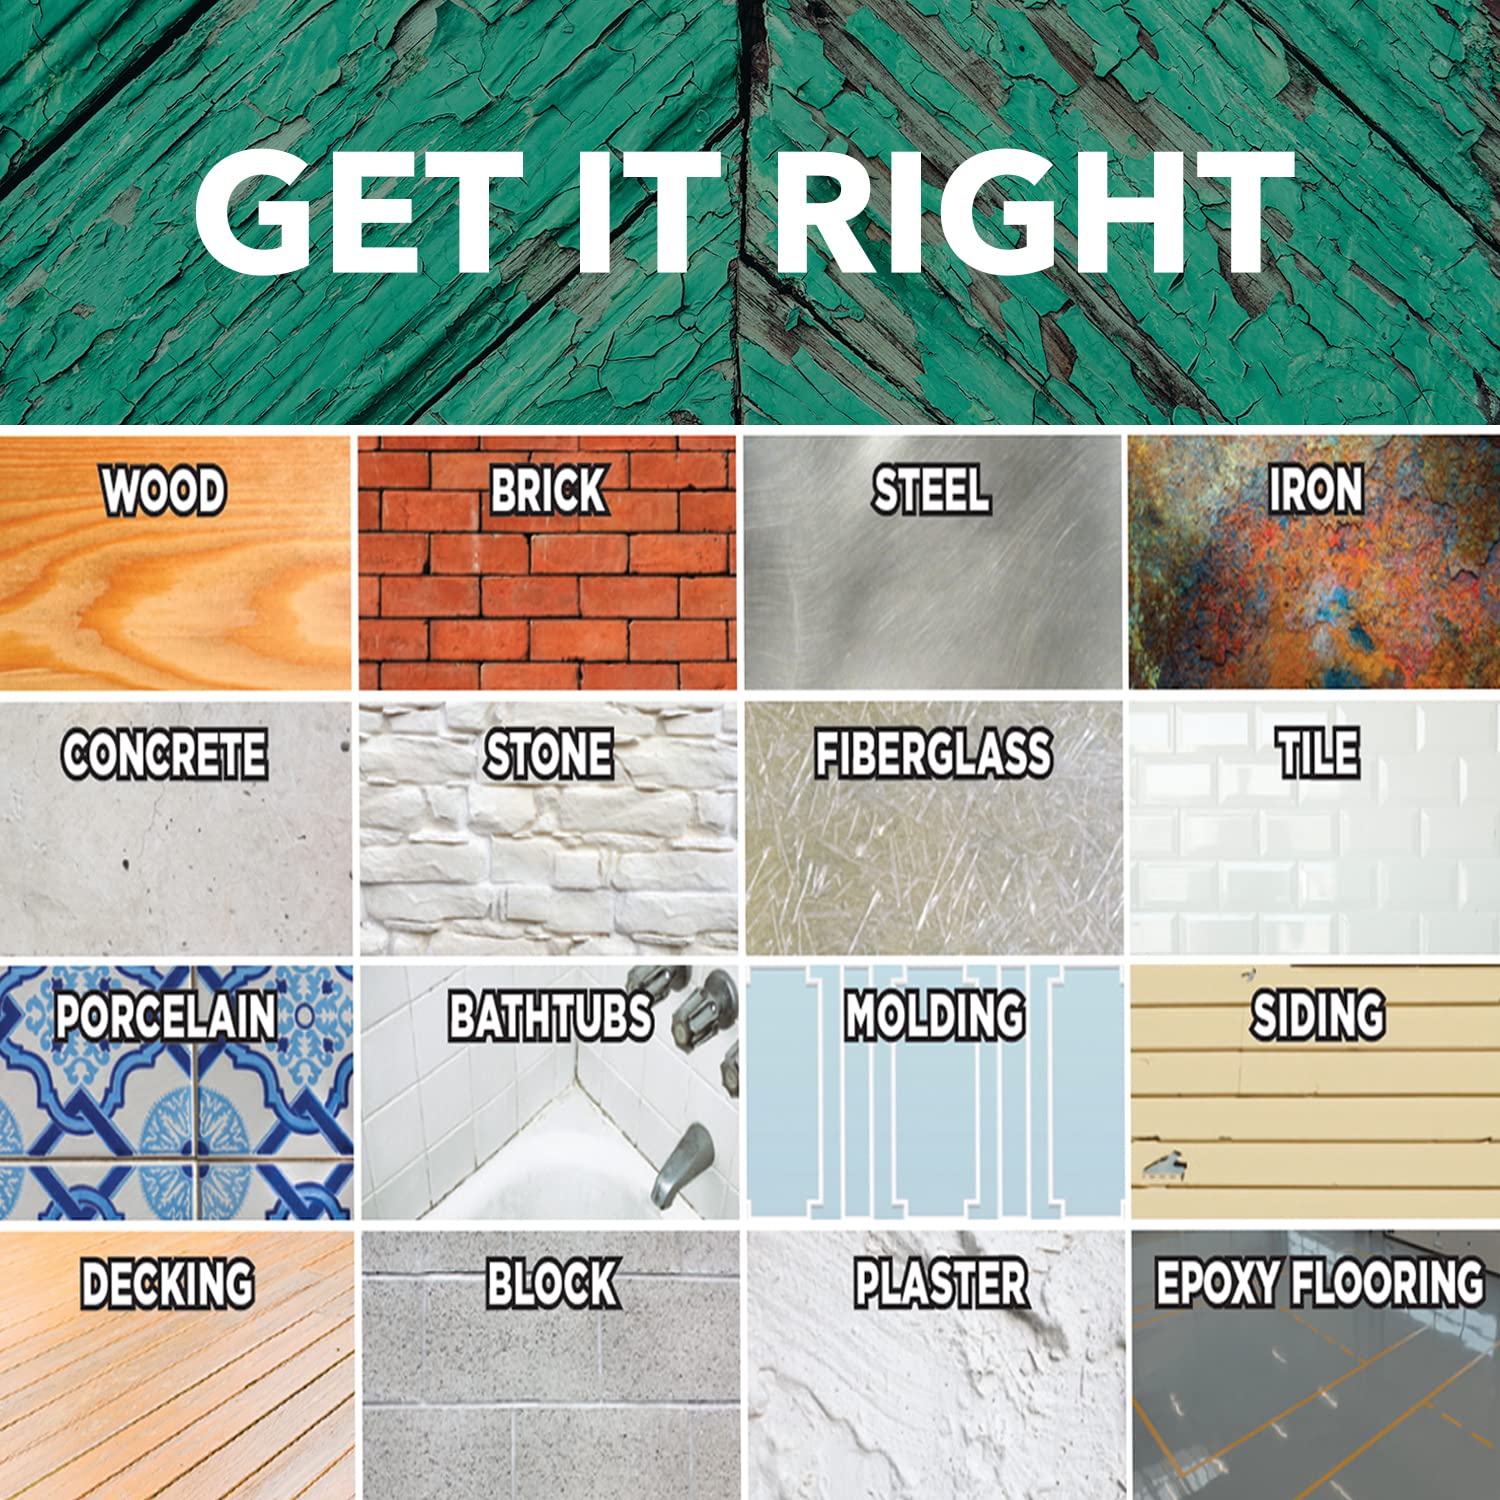

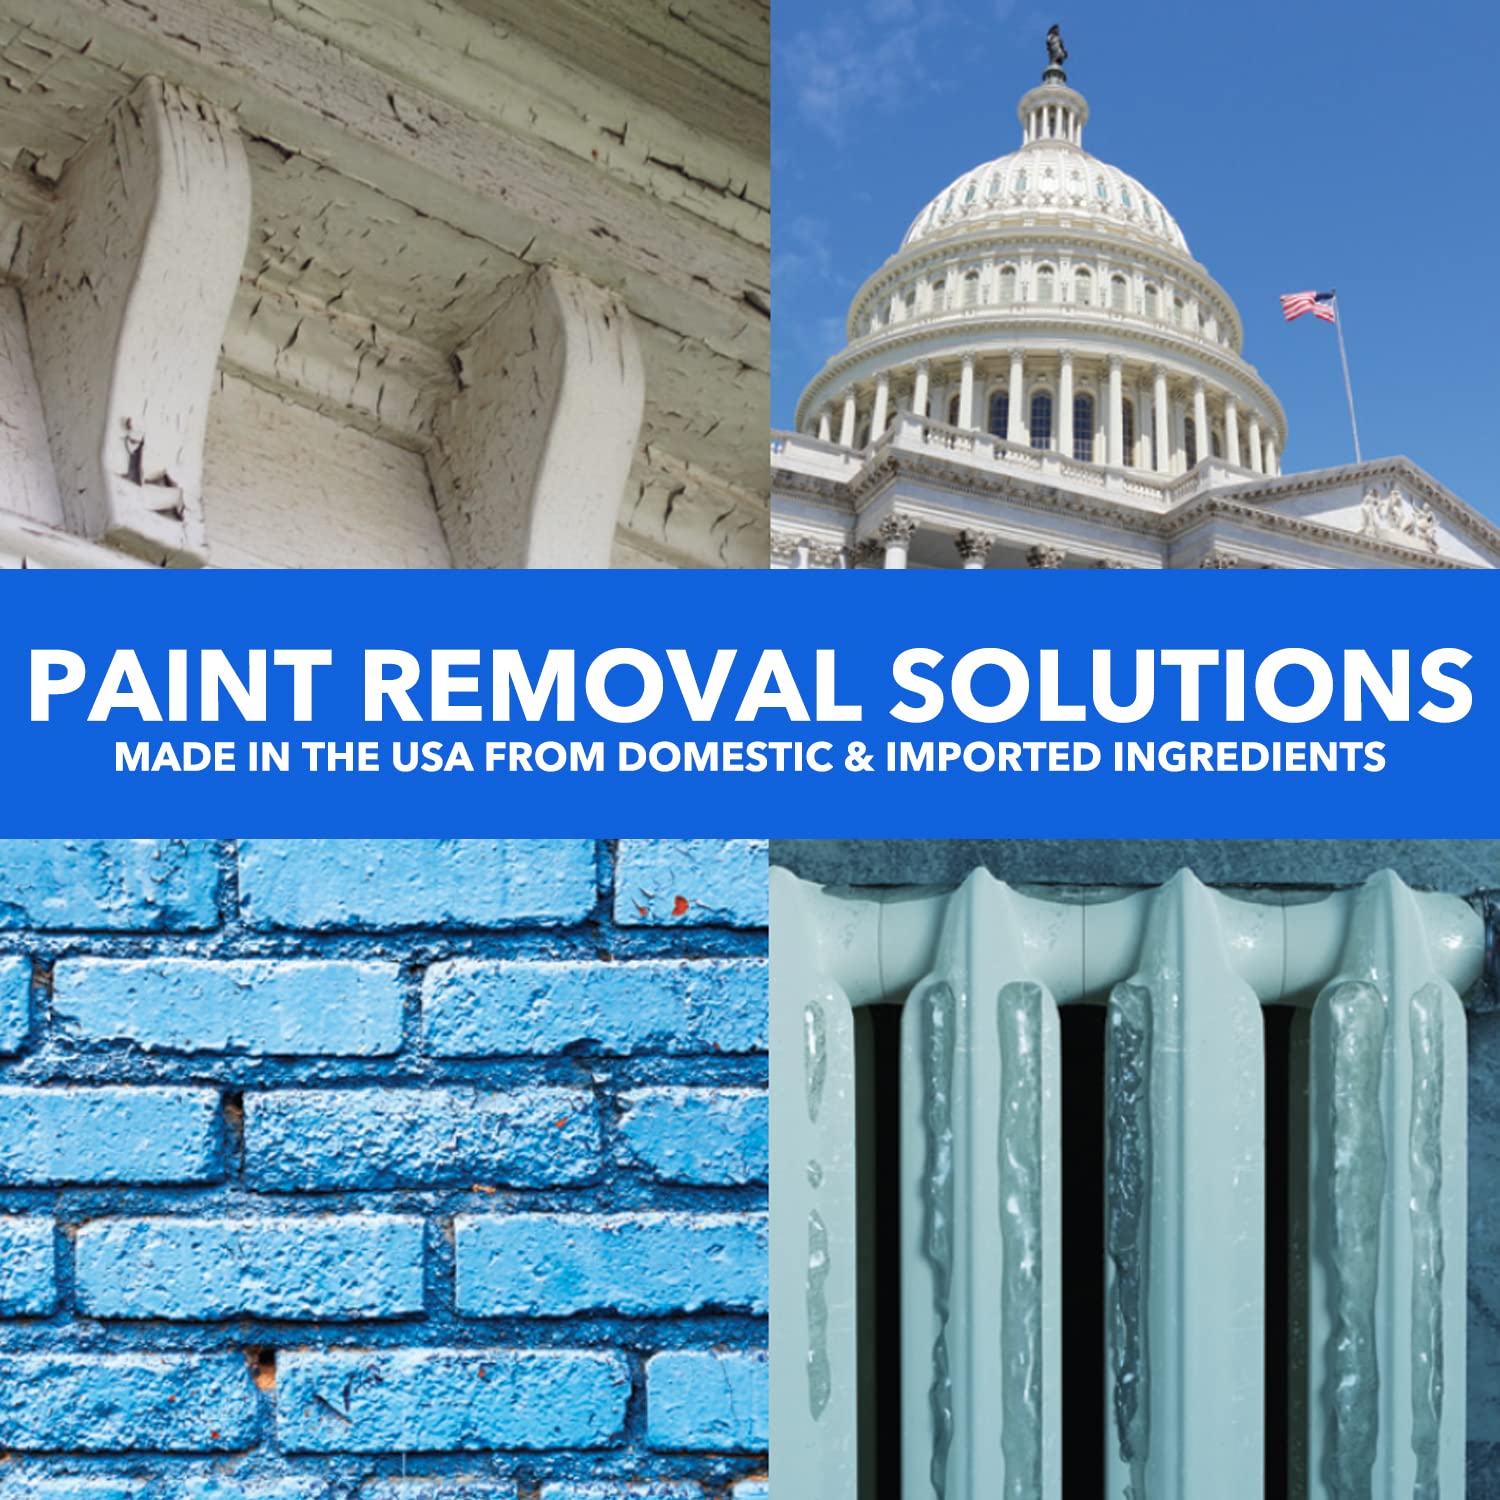
🎨 Strip smart, not hard—test, choose, and transform with Dumond!
The Dumond Complete Paint Removal Test Kit offers 8oz samples of three advanced paint removers—Peel Away 1, Smart Strip Advanced, and Smart Strip PRO—plus all necessary tools and laminated paper to test and identify the ideal remover for any surface. Trusted by professionals and DIYers alike, this US-made kit safely removes multiple paint layers from diverse materials without harmful chemicals.


| Manufacturer | Dumond Chemicals |
| Part Number | PRTK-D |
| Item Weight | 2.9 pounds |
| Product Dimensions | 4 x 8 x 10 inches |
| Item model number | TPK01W |
| Is Discontinued By Manufacturer | No |
| Size | 1 Test Kit |
| Color | White |
| Item Package Quantity | 1 |
| Measurement System | US |
| Included Components | Dumond Laminated Paper, 3 Pack, Smart Strip, Smart Strip PRO, 3 Chip Brushes, 2 Scotch Brite Pads, 1 Plastic Trowel, Peel Away 1 |
| Batteries Included? | No |
| Batteries Required? | No |
N**M
Great way to try out several different strippers
I had a whole dining room of wainscoting with 7-10 (or more) coats of paint on it to strip. I knew I wanted to use the Dumond stripper as my daughter had used some with very good results, but I wasn't sure which kind would work best. It was nice to be able to test each kind without having to purchase a full-sized container. There's enough included in the kit to experiment with, along with everything else you need to do the job.
T**H
Game changer for at home paint stripping
Details:House built: 1940sType of paint to remove: latex top layer, two layers of original oil based paint.We have NO lead paint.Previous owners painted over oil based paint without preparing the surface properly (latex now peels off) so we bought the test kit to remove all layers of paint.Looking at the photo if we move from left to right for the dumond paint strippers we are moving from the harshest to the no VOC stripper. Note that the stripper on the left requires neutralization after removing the paint and these pictures are prior to neutralization.Results: according to the instructions for 1940s paint you need to use the harsher paint strippers. The red can (all the way to the left) is harsh smelling and would be hard to use inside on baseboards. The smart strip pro does not smell as harsh but isn't as nice to work with as the no VOC smart strip which smells like almonds. The citrus strip is not part of the test kit but is something we used previously and would not recommend as it makes a mess.As for consistency, all the dumond strippers are pretty thick which prevents you from making a mess. We found the dumond paper necessary in order to achieve the best paint removal. The results shown in the picture are after 24h.When you initially remove the paint and stripper it looks a bit messy but once you give it a quick scrub with the kits sponge and water the rest of the paint comes off. This is a huge pro as other strippers require a wipe down with mineral spirits.Recap: we decided to move forward with the no VOC smart strip.PROS: no VOC, smells like almonds, thick consistency to help prevent messes, does not require mineral spiritsCONS: can't find it at local hardware stores (make sure you have enough to finish your project), cost more than other paint strippers.IMPORTANT: Make sure to apply the recommended thickness of the stripper, it makes a huge difference in ease of removal.
C**R
WORKED in 129yo house...but be PATIENT and REALISTIC
As said in the headline...following directions and patience are needed and remember, every situation is different.- Our application for the test kit was in a 129yo home, BUT the original staircase (or at least part of it) was redesigned and rebuilt somewhere between the 1920s-40s due to a fire and subsequent addition to the home. We know for a fact that the paint layers are at least 75yo.- We confirmed, though it was safe to assume, that multiple layers of lead paint were on the balusters and newel posts.- For testing, I designated vertical sections of one side of a newel post that can't be seen well and sectioned a portion of a baluster's flat decorative support piece that is between the balusters and the handrail. I made these choices so that the testing would include portions of the wood which had hardly-distinguishable delicate carvings and various designs, knowing that I would have to tackle all of these at some point if stripping to the bare wood.- Just FYI, ONLY TWO brushes came with our kit, though the info and the labeling on the box said THREE would be in it. (If they have changed to include only two, since the Peel Away 1 is so thick and I can't imagine using a brush to apply it...but I like it when a company includes what they say they are including!). UPDATE re: brushes. a few days later...The new kit and the info online DO say only TWO brushes, but our box was an old one and older online info said three brushes. So, we got what is included in the new kit, but in an old box. A relatively small matter, BUT I wanted to set the facts straight.- I applied the Smart Strip and Smart Strip Pro with the brushes. HEADS-UP if you are applying vertically as I had to do, it is tricky as it's like thick jello or jam, and gravity is real folks! Be PATIENT and I found blobbing it on with a gloved hand help build it up. Slow, but it worked better. The plastic scraper was 'ok' to apply the Peel Away 1, as it is more like wet drywall compound. HOWEVER, to get it into the nooks and crannies, I had to use the gloved hand again to do so.- COVER THE FLOOR beneath you if you are working in situ. Thankfully, we still have nasty old carpet on the stairs so though my covering was not large enough, it didn't hurt anything.- Removal...well, for the Smart Strip and Smart Strip Pro, both took off some of the top layers (last painted in 1985ish maybe and before that it was '72 for sure.) That was a mess, but I wasn't surprised after removing old paint from furniture etc. The Peel Away 1 took us down to the wood, but didn't stick to the paper well and come off as in the adverts. HOWEVER, I had one piece of paper over all three samples, so the areas over the SS formulas was sticky and may have effected how the PA1 would come off. ALSO, it WASN'T a flat surface like a wall, table or door. The PA1 became a hard piece of all the layers of paint in chunks which I could remove.- I have now put PA1 on the entire newel post and area of the baluster that I tested, hoping that will get me down to the pair wood on both of those sections so we have a real idea of what we are working with.- What I would do differently in testing or additional notes? • Do not try to separate your 3 test areas simply by a piece of tape is areas are narrow...that made it harder for me in my situation • Make sure the floor/area below where I'm working is covered if in situ. • Have extra gloves ready. • Have your paper already cut to size and ready to put over the formulas as recommended BEFORE you start applying the solvents. • Have good lighting (I was on a stairwell and it was tough/well prepare better when do more work there) • Have a good attitude knowing this is not an easy task and is hard work even with good products • USE A THICK ENOUGH LAYER folks! • Be prepared with appropriate tools to get into design work for cleaning nooks and crannies post- removal • Be prepared for the washing off stage with old towels, pans, plastic covering...whatever you need for your situation as it's messy.- I am thankful for a product that can removed the layers and layers of old paint without the sanding and dangerous lead paint removal. We aren't sure if the wood will be nice enough looking to leave as-is, BUT we can start fresh if need to repaint. Hoping we can work with what's there, but at least we can remove what's there safely!Sorry so long...hope this helps someone!
I**E
Straightforward, effective, and easy
I’ve been looking for a way to remove about 8 coats of paint from my original 1929 doors and haven’t had much luck prior to trying this product. I’ve tried citristrip but wasn’t getting the results I wanted to I decided to try this test kit. It was very easy to use and we had it applied in under 30 minutes. Minimal smell or mess, but would definitely recommend gloves and eye protection.We let it sit for 24 hrs and when we peeled back the paper, we were amazed at how well it worked. It’s great having a few different options to try in the same kit. We went and bought a gallon of the Peel Away this afternoon and are excited for the results. Check this stuff out.
A**R
Will work fine on todays paints
It is a good product that is easy to apply and remove. However if you are applying to a house or product with high lead paint content it stops removing paint at that layer. I used it on columns of a home that was constructed in the 1840's. The paint was about 6 layers thick. The first application was applied and left on for about 20 hours. The top five layers peeled right off. The base layer was not even effected. I did another application on a different column and left the product on for 48 hours. Same results, first five layers came right off.
TrustPilot
1 周前
1天前