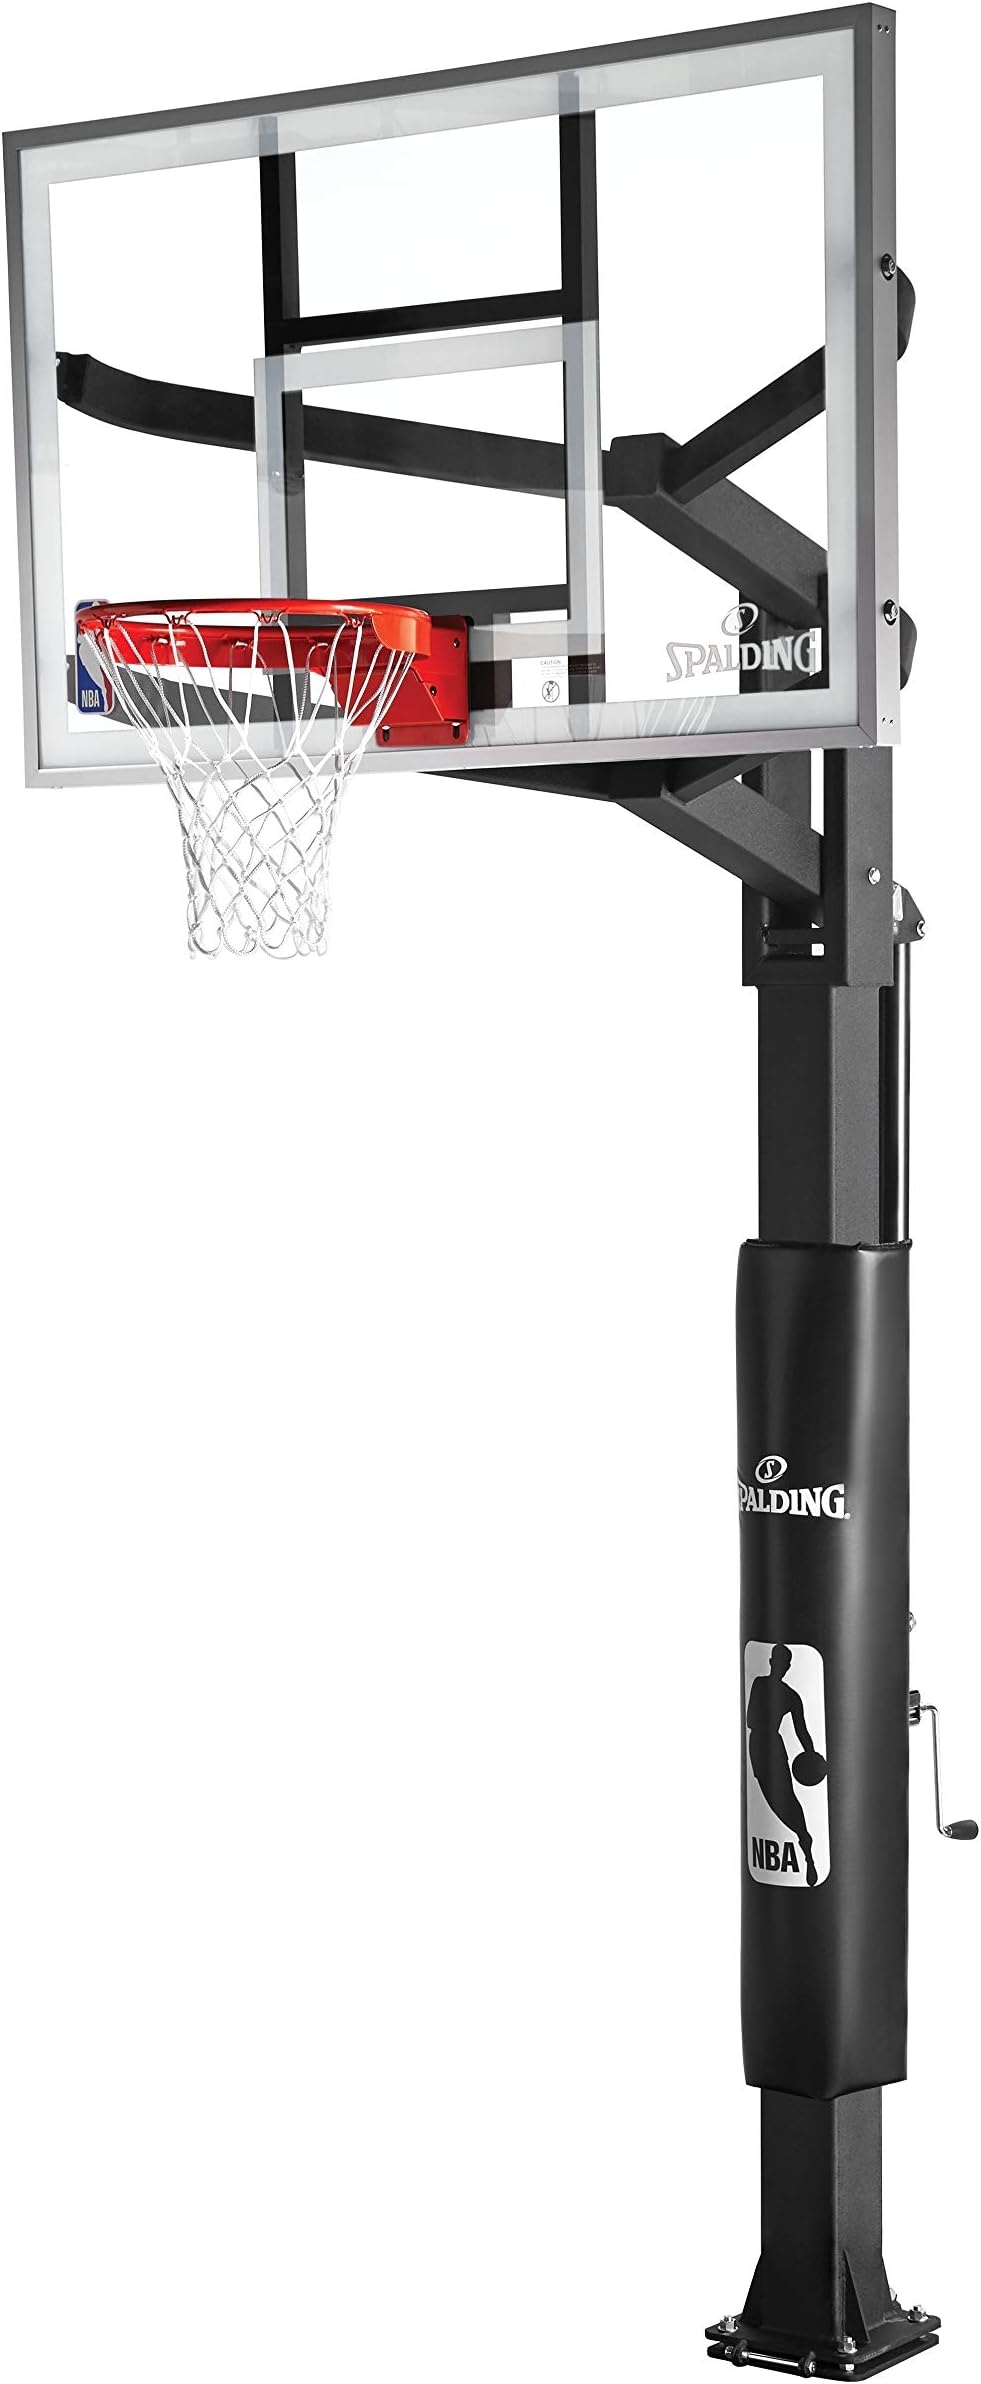


Spalding H-Frame In-Ground Basketball System
Product ID: 1724667
Desertcart purchases this item on your behalf and handles shipping, customs, and support to Hong Kong.
Product Description The Spalding Arena View H-Series features a heavy duty "H" Frame and pro style extruded aluminum trim for long lasting game time, even from the most professional of players. The backboard is 3/8" thick tempered glass for superior rebound. The ergonomically designed right angle U-Turn Pro system easily adjusts rim height from 7' - 10'. Premium pole pad included. Item 86604HGP item weight 525 pounds plus 60 pounds for pallet weight (ship weight 585 pounds) size:60-inch Item 86724HGP item weight 563 pounds plus 60 pounds for pallet weight (ship weight 623 pounds) size: 72-inch Brand Story A Division of Russell Brands, LLC, Spalding is the largest basketball equipment supplier in the world, and America's first baseball company. Spalding is the official basketball of the National Basketball Association (NBA) and Women's National Basketball Association (WNBA), the official backboard of the NBA and NCAA, the official baseball of the Little League World Series, the official volleyball of the King of the Beach Volleyball Tour and of the "Pro Beach Series" and the official football of Pop Warner. In addition to being a leading producer and marketer of basketballs, footballs, volleyballs and soccer balls, Spalding produces softballs under the Dudley brand. The SPALDING® and DUDLEY® trademarks are owned by Russell Brands, LLC.
M**N
Tips for the DYI Installer
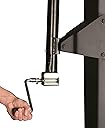
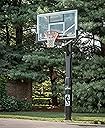
Solid system with good overall design. Chose this model because of pivoting hinge plate that allows backboard to be installed at grade & then pole (rather steel column) slowly raised by tightening the rear nut on the extension bolt. Did the self-install....two adults & a teenager was adequate.Some install tips I wish I knew before hand:1) The instructions call for a 24 inch diameter hole by 4 feet deep. You're likely to prefer a square framed concrete pad at top.....so before you dig make a simple 21 inch x 21 inch square frame out of 2x4's and place it into the ground where you want the pad to be. Remember that the board has a 3 foot overhang (board extends out 3' from front of pole on the 60" backboard.....4' for the 72"). I set my pad back ~1 foot for ~ 2 foot overhang after install. Make sure the front part of your frame is parallel to your playing surface.....you can then use this as an easy reference when installing the support plate later.2) You're going to dig a 4-foot deep hole. You'll need a post-hole digger to get that deep. Also, a quality (strong) wheelbarrow to haul the dirt away (& to mix your concrete) and a place in your yard for ~12 ft3 of some pretty poor quality soil that comes out of the hole (pretty crappy dirt next to your driveway).3) Requires 1600 pounds of concrete....that's 20 80-lb bags which is ~3 trips to your local hardware store with your mini-van (kudos to the pick-up truck owners out there). Do NOT buy fast-drying concrete. Get the normal stuff with the longest curing time as possible.4) We mixed by hand (two hoes....one on each at same time worked well) the 20 bags of concrete with ~ 1 gallon of water per 80-lb bag. Mix, pour, dump one at a time. Took us ~45-minutes to do 20 bags. There is NO WAY this would work with FAST CURE concrete (this is not a pour into hole & just add water application).5) It was difficult (but not impossible) to insert the bottom column into the concrete once the hole was full. There's a lot of aggregate in concrete & it wasn't easy to just drop the bottom plate into the hole. I don't believe a soupier (higher water content) concrete mix would be right approach. I had to stand on top of the base plate (200+ lb adult) to get it to sink into the concrete. We also found the concrete did not fully fill the interior of base plate column.....so make sure if you stand on the plate you don't cover the center 'air release' hole. We corrected this by slowly adding concrete to the interior of the column through this small air hole at top (tedious process.....20 minutes of effort).6) It's not easy to recenter the bottom column once fully in the hole....make sure you get pretty close during the install. Most important thing is to be parallel with your playing surface....you can correct the level afterwards with the leveling nuts (first installed on the base plate lug bolts).7) The hole / base plate install is the most difficult part....install afterwards pretty easy but does require three people. Before you start the column install.....remove the tape you placed on the bottom base plate bolts (to keep them clean during concrete work) and add the washers on top. It will be easy to forget washers are needed here (on top of these bottom leveling bolts) before the column is raised & you're not likely to lower the column to add back once you realize you forgot this step.8) You'll see the bottom end of the extension pole has two places it can be attached to the main column (sleeves for attachment bolts) ~ 2" apart from each other. The instructions show you using the bottom of the two (closest to end of the extension pole). I recommend you use the other (higher) of the two. We found we were ~1" short of the full 10' regulation net height after install once the extension pole bottomed out at 'max height'. If you use the higher of the two attachment sleeves you'll have these additional 2 inches to work with.9) The rim attachment instructions do not call for flat washers behind the locking washers. They are clearly needed here & fortunately enough were supplied to allow this (instructions are simply missing the flat washers....you have the parts for it). Also consider attaching the rim a little 'high' on the backboard to meet the 10 ft regulation height.10) During the column raise we found it helpful to have an adult supporting as much weight of column as possible.....makes tightening the rear bolt much easier.11) Be careful with the hand crank.....it broke on me during install (possible design issue......I'm optimistic Spalding will help address). In short, if it's taking a lot of force to the turn the hand crank then you're likely turning it the wrong way OR you shouldn't be messing with it (wait until you have the pole fully up).
M**K
Update: Crank quit working in weeks... Gives a very good and true bounce off the backboard. Looks great.
Update: After a few weeks of use, the crank to raise and lower the goal no longer works. Will let you know how the seller responds.Pretty easy to install. Also pretty expensive. It looks very nice. Gives a very good and true bounce off the backboard.My contractor who was pouring my concrete pad for my court put the base in the hole adjacent to it and squared it up. A week later, my dad, me and my father in law put the goal up. Me and the kids have been having a blast with it all weekend:)I'm reducing it to 4 stars because of the 'no dunk' warning. This is a very sturdy goal and I'm sure it can handle dunking. I'm not sure why they can't add whatever little safety factor would be required for them to rate it for dunking/hanging on the rim up to a certain weight. What is the weak point that they are worried about?
T**R
Defective Rim
the Rim supposed to have a feature that it flip down in an angle when you dunk, but it does not go back to its normal position, it get stuck in an angle. Very disappointing and no help from Spalding!
W**Y
Nice quality
This basky baskettball hoop is very study. I love the bigger back board. It takes several people to install it because it is so large and heavy but it was not complicated. I am very happy with the purchase.
H**R
Sturdy, handsome, but critical setup
Very well built and heavy duty. I'm holding one star back because there needs to be a more ability to adjust post and/or backboard due to small base from which to level while setting in concrete. The contractor set it level and I checked it level with a torpedo about an hour later but the backboard is tilted just enough to be visible and there does not appear to be much more adjustment. I like the system but the piece put into the concrete needs another vertical check method and/or adjustment mechanism
E**A
Need a least three to four people to install system.
Was looking for an outside basketball hoop for my kids. Came across this H frame Spalding. The kids and I absolutely love it it is very sturdy and going with the bigger size was a good choice. Installing the system was not easy but got enough help and completed the installation in about 2 hours. I strongly recommend this system looks great.
P**L
Stands up to high wind
My previous basketball hoop blew down in a wind storm and smashed on the driveway. This backboard is constructed of heavier gauge steel and is sturdier overall than my last one - and I used even more concrete in footing! So far this is holding up well and is a good quality product.
T**A
The best you can get!
Very easy to install. This was a huge hit in our neighborhood. The official NBA logo has the kids going crazy! Looks and feels like the one the pro’s play on. Highly recommend this,
Trustpilot
1 month ago
2 months ago