Desert Online General Trading LLC
Dubai, United Arab Emirates
Desert Online General Trading LLC
Dubai, United Arab Emirates


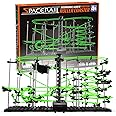
🎢 Light up your nights with the ultimate glow-in-the-dark rollercoaster thrill!
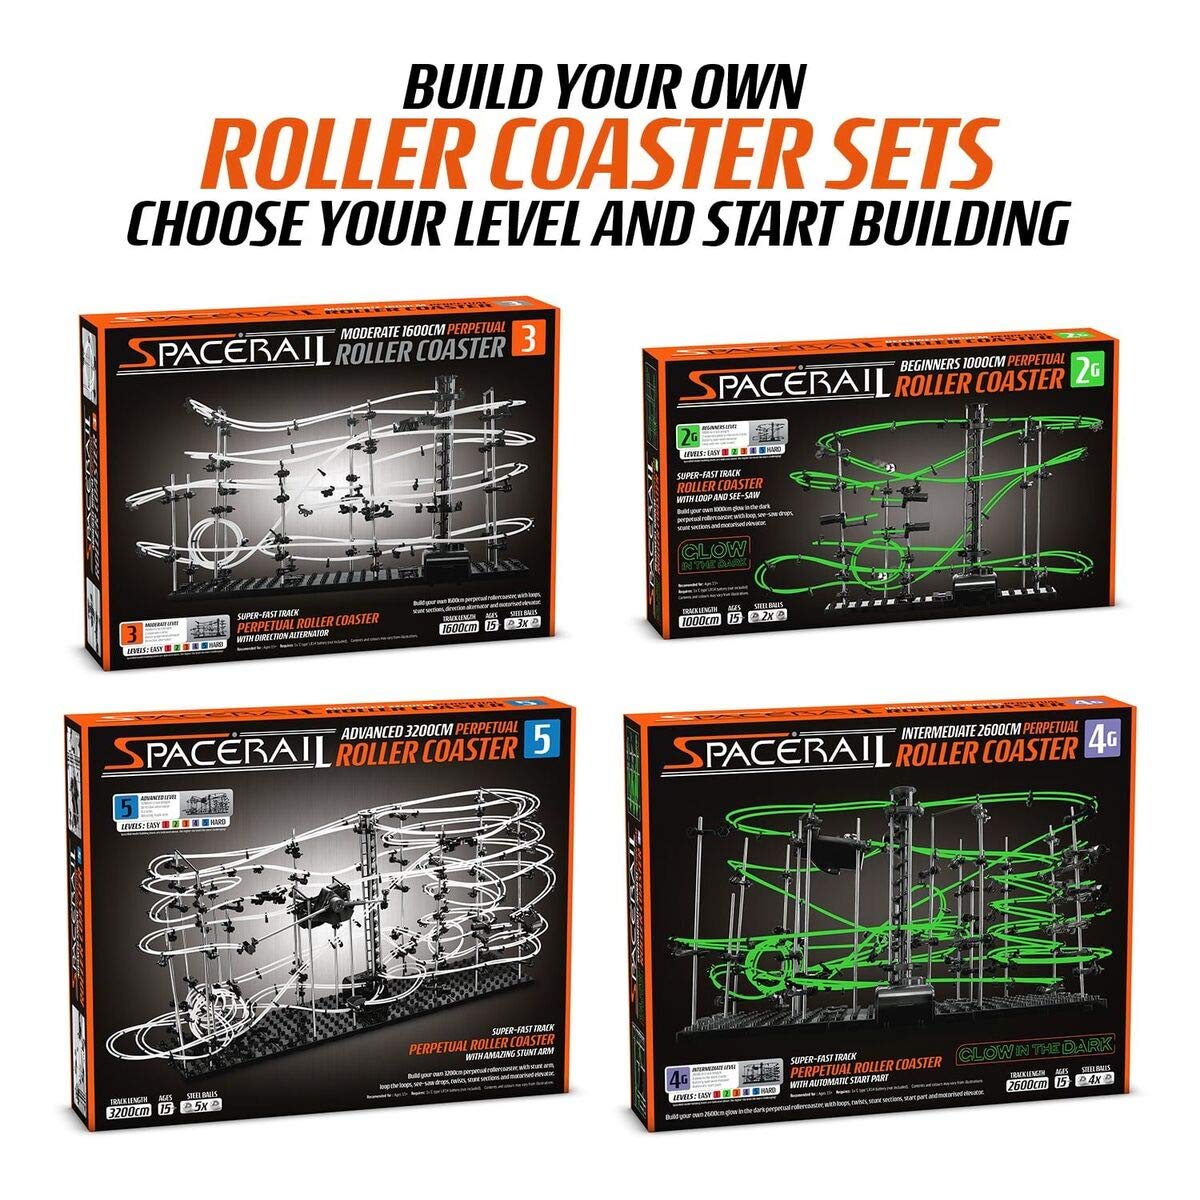
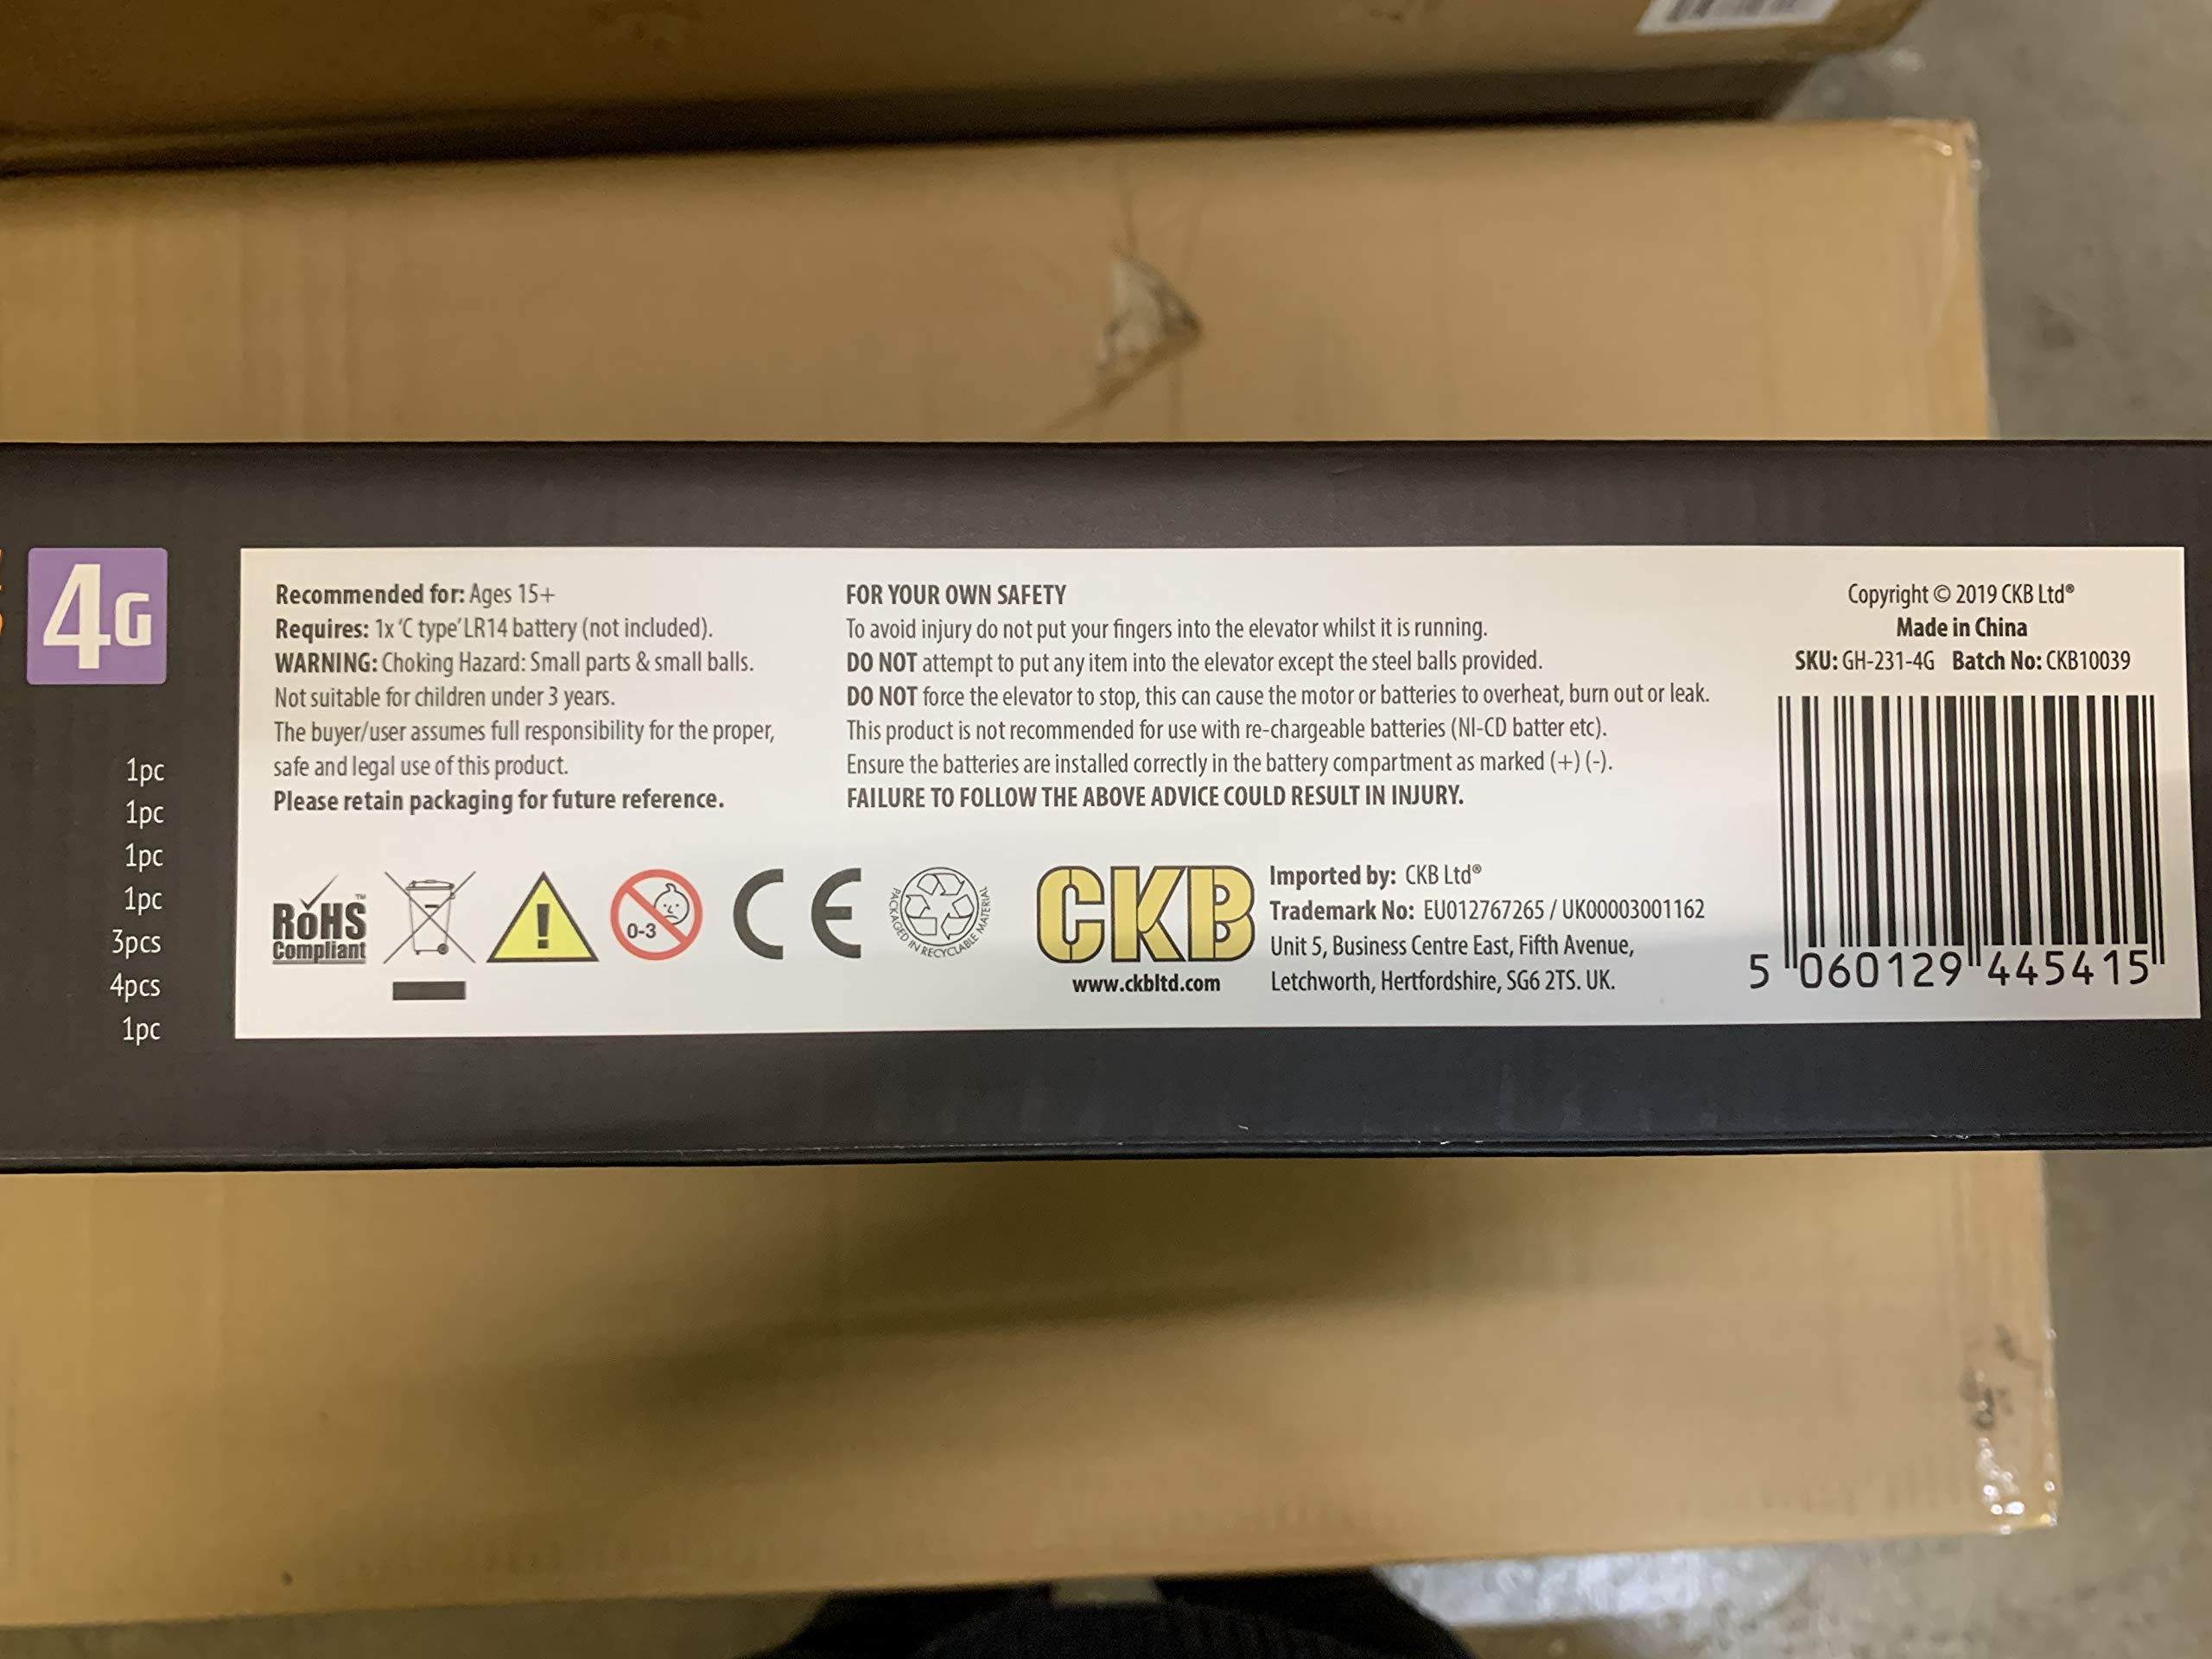
The CKB LTD Space Rail Level 4 Glow in the Dark is a deluxe 26-meter-long marble rollercoaster kit featuring 5 stunt-packed tracks and a battery-powered elevator that perpetually lifts 4 steel balls. Designed for ages 15+, this metal construction set glows vividly in the dark and offers a challenging 7-8 hour assembly experience with official English instructions, delivering endless mesmerizing fun and premium build quality.
| Brand | CKB LTD |
| Model Number | GH-231-4G |
| Product Dimensions | 43.79 x 35.61 x 8.2 cm; 1.77 kg |
| Material | Metal |
| Item Weight | 1.77 kg |
Trustpilot
3 days ago
5 days ago